With San Diego’s push toward affordable housing and flexible living spaces, Accessory Dwelling Units (ADUs) are booming across the county. Whether you’re a homeowner building an ADU for rental income or a contractor expanding a property footprint, drywall installation plays a critical role in creating high-quality, code-compliant living environments.
In this comprehensive guide, we walk you through a professional step-by-step checklist for drywall installation in ADUs—drawing on the deep local experience of SGP Drywall, a leading drywall contractor in San Diego.
Why Drywall Matters in San Diego ADUs
Drywall isn’t just a finishing layer. It plays a role in:
Soundproofing between units
Fire resistance in required walls and ceilings
Insulation and moisture protection
Creating a smooth, paint-ready surface
With high property values and stringent permitting, quality drywall installation can make or break your ADU’s comfort and compliance.
Pre-Installation Checklist
1. Obtain Permits
San Diego ADU construction requires adherence to municipal and state building codes. Make sure plans are approved and permits are secured before starting.
2. Electrical and Plumbing Inspections
Before drywall can go up, all behind-the-wall utilities need to be installed and inspected. This includes:
Electrical wiring
Plumbing lines
HVAC ducts
Smart home connections
3. Framing Verification
Walls should be level, plumb, and framed at 16″ centers for standard drywall sheets. Use fire-rated blocking where required.
Need help prepping your walls? Our Project Management services cover pre-drywall inspections and coordination.

Choosing the Right Type of Drywall
Not all drywall is created equal. For San Diego ADUs, consider:
1. Standard Drywall (1/2″)
Used for most interior walls and ceilings.
2. Moisture-Resistant (Greenboard or Purple Board)
Best for bathrooms, kitchens, and laundry rooms—areas prone to humidity.
3. Fire-Rated Drywall (Type X)
Required for walls shared with garages or for units closer than 5 feet to main residences.
4. Soundproof Drywall
Enhances tenant privacy in rental ADUs or backyard cottages.
We offer custom installation of all types through our Drywall Installation service.
Step-by-Step Drywall Installation Process
Step 1: Material Delivery and Staging
Drywall sheets, joint compound, tape, screws, and accessories are delivered and stacked carefully to avoid warping.
Step 2: Ceiling First
Ceiling sheets go up before walls to improve load-bearing and seam hiding. We use drywall lifts to ensure safety and precision.
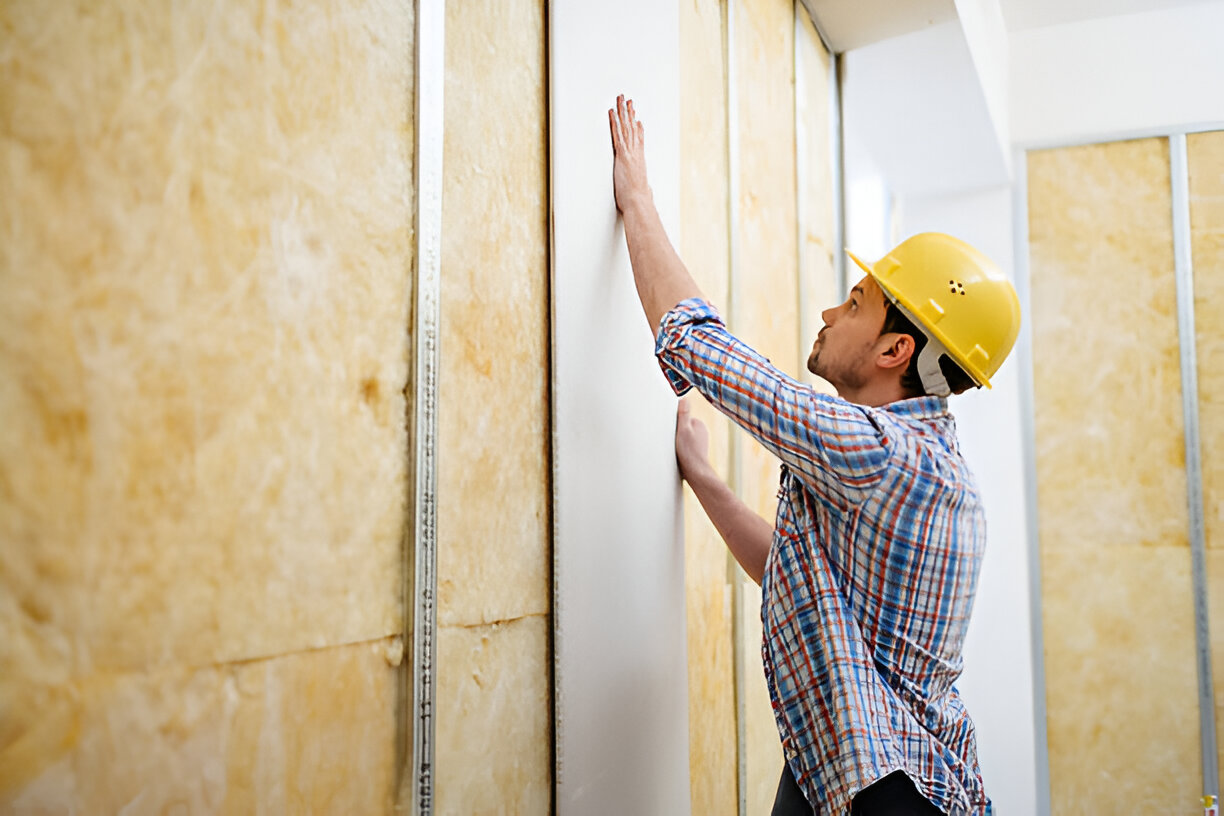
Step 3: Wall Installation
Sheets are hung horizontally (for fewer seams) and fastened with drywall screws, maintaining a screw spacing of 12 inches on walls.
Step 4: Cutouts for Fixtures
Precision cuts are made for:
Electrical boxes
Plumbing stub-outs
HVAC registers
Step 5: Taping and Mudding
Seams are taped using paper tape or fiberglass mesh, followed by three coats of joint compound with sanding in between. Our Sheetrock Finishing service ensures a flawless result.
Step 6: Sanding and Cleaning
Fine sanding removes imperfections and prepares walls for texture or paint.
Texturing and Finishing Options
ADUs in San Diego often reflect diverse architectural styles. Choose from:
Smooth Finish: Modern, clean aesthetic
Knockdown: Subtle texture that hides imperfections
Orange Peel: Common in rentals and multi-units
Skip Trowel: Adds character in Spanish-style homes
Our Wall Texturing & Finishing experts can match any existing style or create a new look to suit your ADU’s vibe.
Common Drywall Mistakes to Avoid in ADUs
Not staggering joints (leads to weak points)
Using standard drywall in wet areas
Over-sanding, which can damage the paper surface
Skipping insulation or vapor barrier in exterior walls
Ignoring fire code clearances in garage conversions
Avoid costly redos by working with San Diego specialists like SGP Drywall.
Local Building Codes and Considerations
In San Diego:
Fire-rated drywall is typically required between garage ADUs and main homes
Inspections may include vapor barriers, nailing patterns, and fire separation
Multi-family ADUs need soundproofing and egress compliance
We stay up-to-date with evolving local and state code changes to ensure your project is 100% compliant.

Timeline and Labor Planning
Task | Duration |
Delivery & Staging | 1 day |
Hanging Drywall (800–1,200 sq ft) | 1–2 days |
Taping & Mudding (3 coats) | 2–3 days |
Sanding & Cleanup | 1 day |
Texturing & Paint-Ready | 1 day |
Total time for a full ADU drywall job: 6–8 working days
Client Testimonials
“We hired SGP Drywall for our backyard ADU, and they finished in less than a week with amazing results. Their finishing is flawless and professional.” — Tony C., Poway
“Edgar and the crew were efficient, respectful, and kept the space super clean throughout the project. Highly recommend for new ADU builds.” — Jessica A., North Park
Final Walkthrough & Quality Assurance
Once work is complete:
We walk through the ADU with you
Check corners, seams, and finish quality
Ensure all cutouts (fixtures, lights) are precise
Address any punch-list items on-site
Your satisfaction is guaranteed—and every project is backed by our craftsmanship promise.
Conclusion
Drywall installation is one of the most critical—and underestimated—aspects of building an ADU in San Diego. Whether you’re a contractor managing multiple builds or a homeowner navigating your first project, the checklist above ensures code compliance, visual appeal, and lasting results.
For expert drywall installation and finishing on your ADU project, contact SGP Drywall today. Our end-to-end service includes:
Call (619) 806-2169 or request a free estimate online and let’s build something that lasts.


