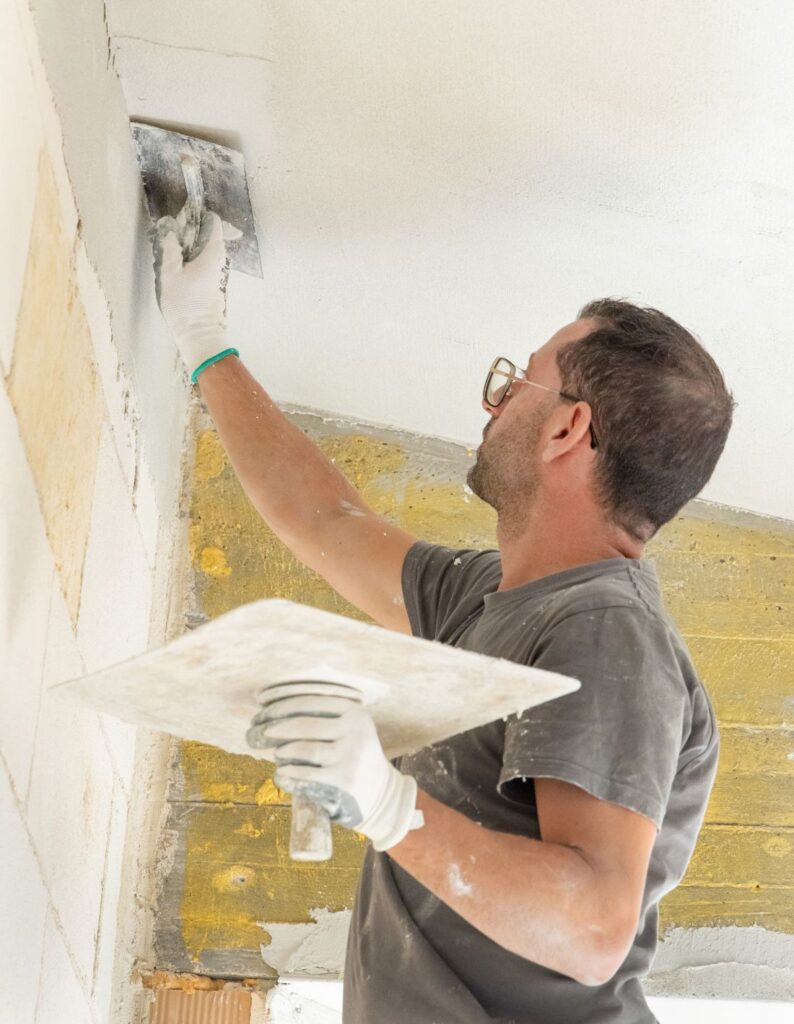
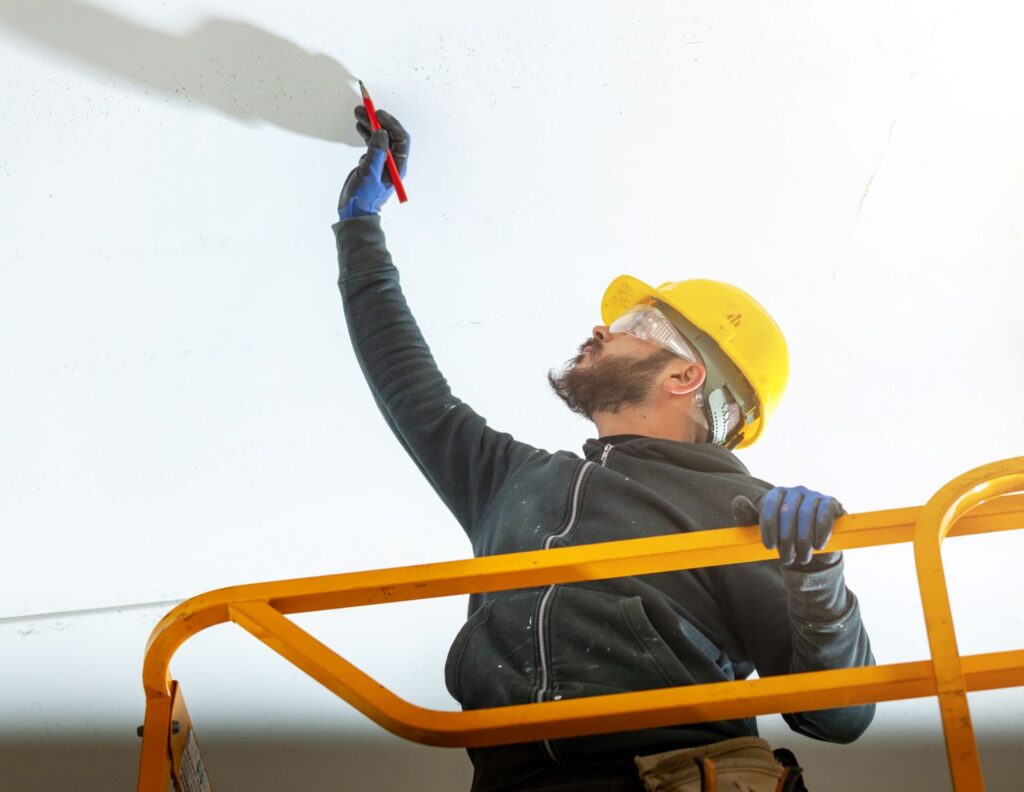
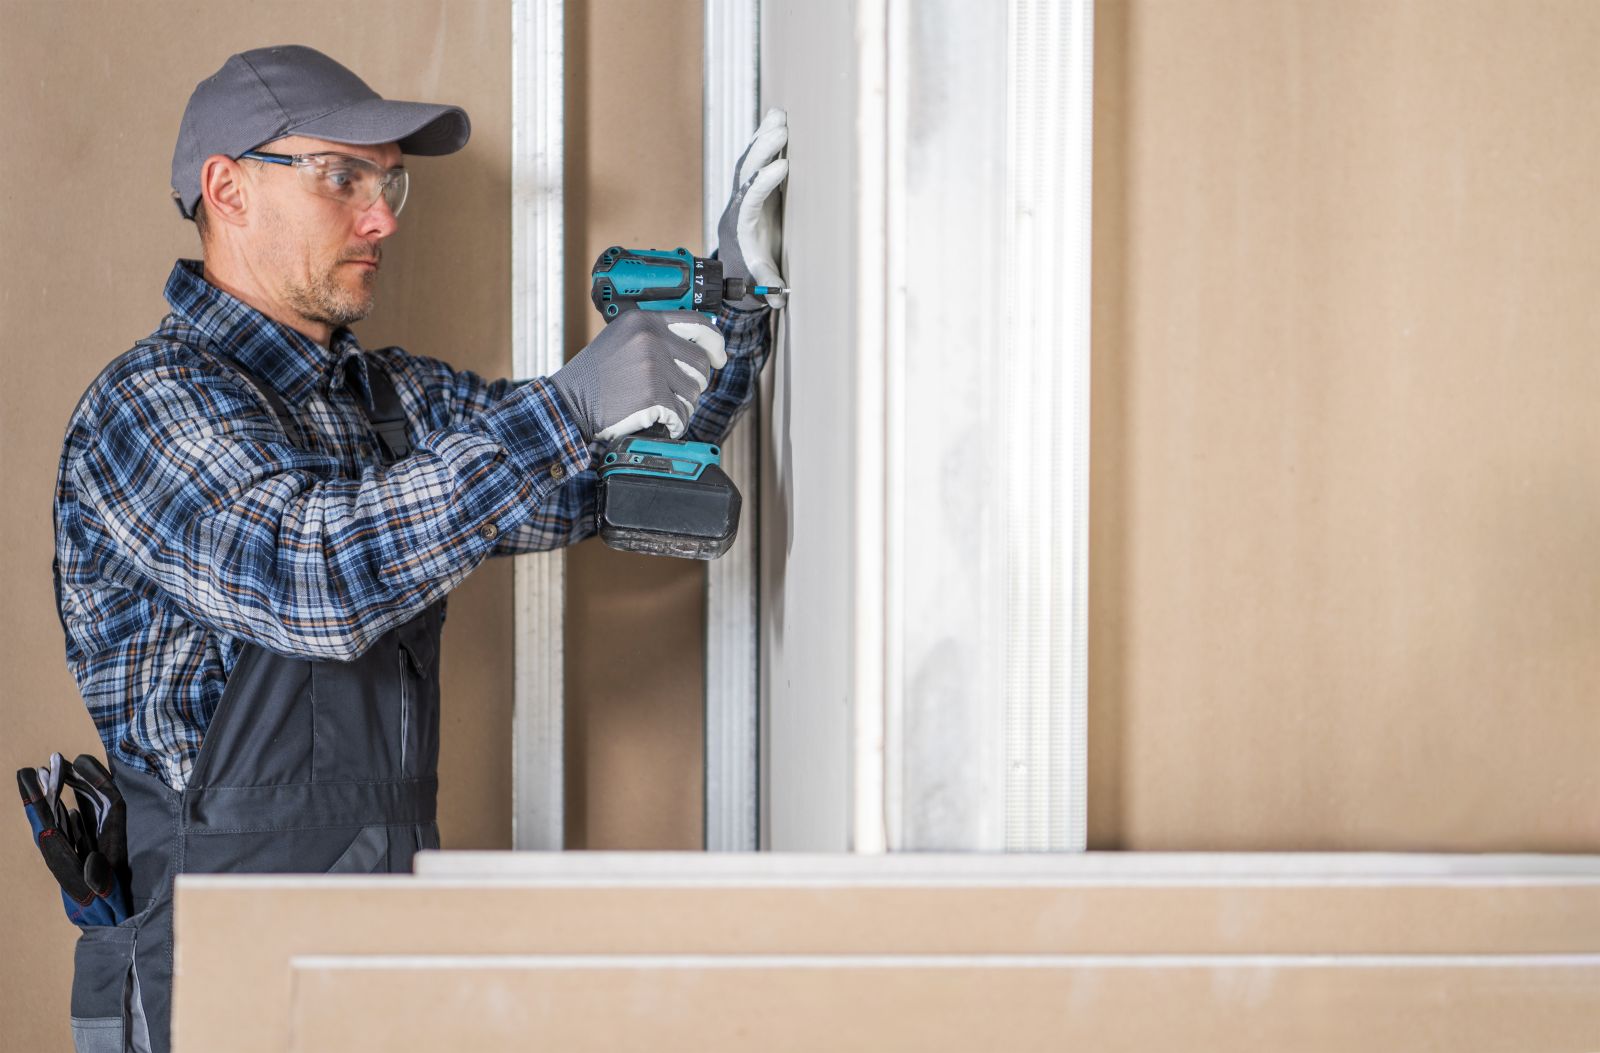
We’ve all been there—you finally slap a fresh coat of paint on your wall, step back to admire your work… and boom: bubbling, peeling, cracking, or blotchy messes start showing up like uninvited guests. If your beautiful paint job is going sideways, the problem probably started way before the brush hit the wall.
Enter: painter drywall repair—a crucial but often-overlooked step in achieving flawless, lasting interior walls.
At SGP Drywall, we know that the key to a professional-grade paint job starts long before you even open that can of paint. It’s all about drywall surface prep, proper drywall priming techniques, and a painter-ready finish. So, if you’re tired of spending hours painting only to have it fall apart (literally), this one’s for you.
Why Drywall Repair is the Secret to a Great Paint Job
Here’s the thing: even the most expensive paint won’t hide poor prep work. If your walls have cracks, dings, or old nail holes—and they weren’t repaired properly—your paint will show it. Worse, it might peel off like a bad sunburn within weeks.
Painter drywall repair ensures that the wall surface is smooth, solid, and ready to hold on to your paint for the long haul.
1. The Golden Rule: Always Repair Before You Paint
We get it—painting is the fun part. But if you’re not tackling the imperfections underneath, you’re just covering up future problems.
What This Includes:
- Patching nail holes, cracks, and dents
- Sanding uneven surfaces
- Skim coating over rough areas
- Checking for moisture issues or prior paint failures
Think of this as your “clean canvas” phase. No artist skips priming the canvas, and no painter should skip drywall before painting.
2. Don’t Rush the Spackle—Let It Cure!

Yes, we know you’re eager. But that quick-dry spackle you bought still needs time to set. One of the leading causes of paint peeling is painting over drywall repairs before they’ve fully dried.
Here’s Why That’s a Problem:
- Moisture gets trapped between the wall and the paint
- Spackle shrinks, cracks, or separates from the drywall
- Paint adheres unevenly and eventually lifts
Pro Tip:
Always follow manufacturer-recommended compound drying times, especially for larger patches. When in doubt, give it an extra few hours—or even a full day for deep fills.
3. Sand Like a Pro (and Vacuum That Dust!)
One word: sanding. It’s messy, it’s tedious, but it’s absolutely essential. Skipping or rushing this step is one of the fastest ways to guarantee bubbling and peeling.
Why Sanding Matters:
- It smooths out edges around repairs
- Removes any extra compound build-up
- Ensures primer and paint adhere evenly
And let’s not forget about drywall sanding for painters—it’s a slightly different game than sanding for texture or taping. Your goal here is feathered, flush, and fine.
Spunky Tip:
Use a sanding sponge or pole sander with 120–220 grit paper, and always wipe down the wall with a damp cloth or vacuum to eliminate sanding dust and paint adhesion issues.
4. The Primer Is Not Optional—It’s Everything
We can’t say this loud enough: Primer is not paint. It plays a totally different role, especially when you’re painting over repaired areas.
What Primer Does:
- Seals porous drywall and spackle
- Evens out surface porosity to prevent flashing
- Provides a stable base for paint to bond
Using the primer for repaired drywall means your paint won’t soak unevenly into patches or bubble over dried compound.
What to Use:
- Use a drywall primer-sealer for fresh compound
- Use a stain-blocking primer for water-damaged areas
- Use tinted primer if painting bold or dark colors
The right drywall surface prep ensures your paint doesn’t just stick—it stays.
5. Watch Your Tape Lines and Edges
Taping isn’t just for drywall installation. Even for minor wall repairs, poor taping causes issues like bumps, feathering fail, or flash lines.
Proper Taping and Painting Sequence:
- Use paper tape for corners, mesh tape for small cracks
- Feather joint compound with wide knives in stages
- Sand between coats for smooth transitions
If your repairs require taping (like long cracks), take your time. Paint loves to highlight bad tape jobs in the worst way.
6. Avoid Moisture Mishaps
Moisture-related paint issues are sneaky. They show up as bubbling, peeling, or discoloration—sometimes weeks after painting.
Causes:
- Painting over damp drywall (from leaks or humidity)
- Improper drying between repair layers
- No ventilation during or after painting
Fix It:
- Always check for moisture around windows, bathrooms, and exterior walls
- Use dehumidifiers or fans when needed
- Paint during low-humidity days whenever possible
Whether you’re in coastal San Diego or inland neighborhoods, this one’s a game changer.
7. Paint Timing: Don’t Jump the Gun
You’ve primed. You’ve patched. You’ve sanded. Now you’re ready to paint, right?
Almost.
Make sure your primer has fully dried (check the can!), your environment is dry, and your paint has been mixed thoroughly.
Starting too early is how even great prep gets wasted. A true painter-ready drywall finish is fully cured, smooth, and ready to grip that paint.
Common Mistakes DIYers Make (and How to Avoid Them)
- Skipping primer altogether: leads to uneven color and texture
- Using the wrong spackle: some aren’t meant for large holes or deep cracks
- Over-sanding: can create dips that ruin a clean finish
- Not feathering edges properly: creates visible seams under the paint
- Rushing dry time: the fastest way to end up doing it all over again
Let SGP Drywall Get Your Walls Paint-Ready

You could spend hours patching, sanding, priming, and prepping—or you could call SGP Drywall and let us handle it with skill, speed, and precision.
We specialize in painter drywall repair, delivering smooth, clean surfaces that make your paint job look professional—and last longer. Whether you’re repainting a single room or prepping an entire home, we’re here to help you do it right from the start.
Ready for walls that are 100% paint-ready?
Call SGP Drywall today and skip the headaches, bubbles, and peeling.
FAQ: Painter Drywall Repair Tips
What’s the difference between spackle and joint compound?
Spackle is typically used for small holes and quick touch-ups—it dries fast and is easy to sand. Joint compound (a.k.a. drywall mud) is more versatile and better for larger repairs or taping seams. It dries slower but provides a smoother finish and bonds better with primer and paint. For most painter drywall repair jobs, joint compound is the go-to.
Can you use paint-and-primer-in-one over a patched wall?
Technically, yes—but it’s not recommended. These products are best for repainting previously painted walls, not new or patched drywall. Fresh repairs are more porous and need a dedicated primer to seal the surface properly. Skipping primer may lead to paint bubbling or flashing over the repaired area.
How can you tell if your walls are too dusty to paint?
Run your hand lightly over the surface. If you feel powdery residue or see dust on your palm, it’s too dusty. You should vacuum, then wipe with a damp cloth or tack cloth. Painting over dusty drywall leads to poor adhesion and, ultimately, peeling or flaking paint.
Want more Pro Drywall Insights and Renovation Tips?
Head over to the SGP Drywall blog for expert advice on residential, commercial, and custom wall solutions—everything from smooth finishes to commercial-scale builds.
And coming up next:
“How Commercial Drywall Services Adapt to Office, Retail, and Multi-Unit Projects“—a deep dive into large-scale drywall strategy and what makes commercial work different from residential!


