Introduction
San Diego’s sun-soaked weather hides an overlooked threat to your home’s integrity—moisture. While the region is known for its pleasant climate, the combination of coastal humidity, occasional storms, and old roofing or plumbing systems makes ceiling drywall particularly vulnerable.
Leaks, even small ones, can silently cause mold, discoloration, and sagging ceilings. Left unaddressed, these issues evolve into expensive structural problems that affect property value and health.
In this guide, you’ll learn how to identify early signs of water damage, follow a professional repair process, prevent mold, and achieve high-level finishing—even in humid San Diego environments.
For full-service repairs, visit our Ceiling Repair service page.
Understanding San Diego’s Climate & Its Effects on Ceiling Drywall
Coastal Humidity + Occasional Rain = Moisture Vulnerability
San Diego’s marine layer brings elevated ambient humidity even without rainfall. In combination with winter rainstorms or condensation from air systems, ceilings become hotspots for moisture buildup—especially on second floors or flat roofs.
SD Leaks: Roofs, Plumbing, Condensation Issues
Ceiling drywall is especially at risk when:
- Pipes leak between floors
- Roof flashing fails during storms
- HVAC units drip or collect condensation
- Bathrooms lack proper venting
These issues are common in many older homes and townhouses across San Diego County.
Why Ceiling Drywall Suffers Before Walls Do
Ceilings collect water from above, meaning they often hide damage until it’s widespread. Gravity pulls moisture into insulation and framing, weakening the structure, promoting mold growth, and eventually causing paint bubbling or drywall collapse.
Identifying Ceiling Drywall Water Damage Early
Signs on Ceiling: Bubbled Paint, Sagging, Discoloration
Common indicators include:
- Brown/yellow water rings
- Peeling or warped paint
- Sagging ceiling panels
- Visible seams or joint lines
Water Stain Detection: Angle Lighting and Moisture Meters
Use a flashlight at an angle to reveal hidden water patterns. Moisture meters help measure moisture content to determine whether drywall is dry enough for repair.
Mold Spotting: Black/Green Spots and Musty Odor
Mold appears as dark specks or streaks, often around light fixtures or corners. A musty smell is a key warning sign even before visible growth.
Structural Integrity: Soft Spots, Bulging Joints
Poke gently at suspicious areas. Spongy drywall or bowing sections indicate moisture saturation behind the surface—time to open it up and assess framing.
Immediate Steps After Detecting a Leak
Stop the Source: Fixing SD Leaks, Roof or Plumbing Repairs
Before any drywall work begins, identify and repair:
- Roofing issues (shingles, flashing)
- Leaky pipes or fittings
- HVAC condensation buildup
Delaying this step causes recurring damage.

Drying Out the Area: Fans, Dehumidifiers, Keeping Space Ventilated
Circulate air using fans and open windows. Use dehumidifiers to lower ambient humidity. Keep this up for 24–72 hours depending on the leak severity.
Assessing Ceiling Drywall Repair Needs
Remove light fixtures or vents to peek inside. If insulation is wet or drywall is mushy, full replacement is necessary.
Safety First: PPE for Mold-Affected Areas
Wear gloves, a mask, and goggles. If mold is extensive, containment (plastic sheeting) is critical. Never sand moldy drywall—remove and replace.
Step-by-Step Ceiling Drywall Repair Process
- Remove Damaged Drywall/Insulation
Cut out compromised panels in clean, square shapes. Remove wet insulation and bag it immediately. - Dry and Treat Substrate
Check that studs and joists are completely dry. Treat with anti-microbial spray to prevent mold from returning. - Install New Ceiling Drywall
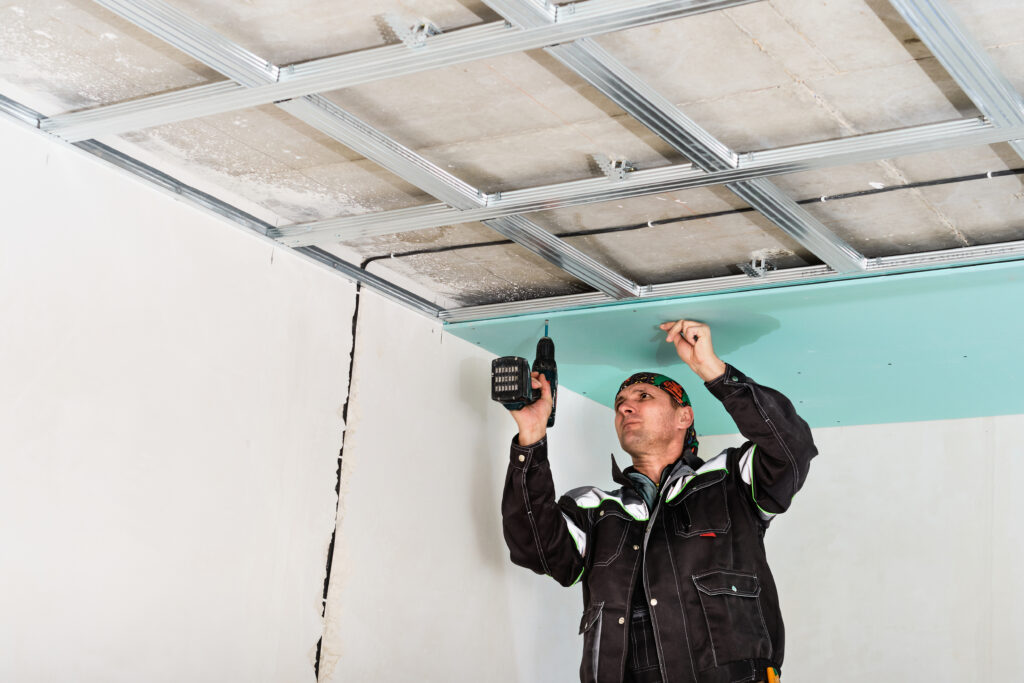
Use 5/8″ moisture-resistant drywall, especially in bathrooms or kitchens. Fasten securely to ceiling joists. - Tape and Apply Joint Compound
Apply joint tape over seams, followed by 2–3 coats of compound. Feather edges outward each time. - Sand Carefully
Use sanding blocks or pole sanders with fine-grit paper. Avoid over-standing and creating dust clouds—use vacuum-assisted tools if possible. - Apply Primer and Paint
Use stain-blocking primer to prevent water marks from bleeding through. Finish with ceiling-rated latex paint.
Explore our full Moisture‑Resistant Drywall services and Ceiling Installation & Finishing solutions.
Water Stain Removal Techniques
Bleach-Based Stain Blockers vs. Shellac Primers
- Bleach-based: Good for minor surface stains
- Shellac-based: Strongest solution for smoke or deep water stains
Apply only after full drying.
Spot‑Treat Small vs. Large Stains
Small areas can be treated and touched up. Large stains often require full ceiling repainting to ensure uniform color.
Timing: Drying Before Painting is Critical
Never prime or paint wet surfaces. Wait until drywall moisture content is under 12%.
Best Paint Finishes for Ceilings in Humid Conditions
Choose mildew-resistant flat or eggshell paints. They resist condensation and are easier to clean in high-humidity areas.
Mold Prevention in Ceiling Drywall
Why SD’s Humidity Accelerates Mold Growth
Warm, humid air + drywall’s porous surface = a perfect mold breeding ground—especially in bathrooms, kitchens, or beachside homes.
Use of Moisture‑Resistant Drywall in Leak-Prone Areas
Moisture-resistant boards (green board, purple board) resist absorption and are ideal in vulnerable ceilings.
Proper Ventilation: Exhaust Fans in Bathrooms/Kitchens
Install and maintain strong fans. Run fans during and 20 minutes after showers or cooking to reduce humidity buildup.
Regular Inspections and Moisture Monitoring
Use moisture meters seasonally. Address condensation near vents or light fixtures early.
Learn more from our Mold‑Resistant Drywall & Preventive Solutions page.

Common Pitfalls & How to Avoid Them
Painting Over Wet Drywall – Results in Mildew Growth
Always dry and prime before painting. Wet surfaces trap spores and encourage rot.
Ignoring Root Cause: Repairing Drywall but Not Leak
Fixing drywall without resolving the leak leads to repeated water damage and cost.
Over-Sanding – Causing Visible Seams Under Paint
Feather joints gently. Over-sanding exposes tape and creates uneven textures under lighting.
Skipping Primer – Paint Flaking and Visible Stains Later
Always prime after sanding to seal the surface and prevent stain bleed-through.
When to Call Professional Dry Wall Installers
Large or Recurring Leaks
Complex leaks often require structural inspection and mold testing.
Structural Sagging/Destruction of Ceiling Framing
Warped or rotten joists must be replaced—not just patched over.
Mold Penetration Beyond Surface—Call Pros Like Drywaller
Deep mold requires containment, HEPA filters, and specialized tools. Hire Drywaller for safe, code-compliant remediation.
Warranty, Code Compliance & Insurance Requirements
Professionally drywall repairs offer documentation and support for insurance claims or resale disclosures.
Cost Considerations: DIY vs. Professional Repair
DIY Small Repairs: Tools, Materials, Time
- Drywall sheets: $15–$30 each
- Joint compound, tape, sanding tools: ~$50
- Primer/paint: $40–$100
- Time: 4–8 hours minimum
Professional Ceiling Drywall Repair Packages
Starting at ~$400–$1,200 depending on scope, includes materials, texture match, clean-up, and warranty.
Long-Term Savings by Avoiding Mold and Structural Issues
Avoiding rework and health risks offsets the upfront pro cost.
Insurance Reimbursements: Documentation Tips
Take photos pre-repair, save receipts, and get a professional invoice. Most homeowners insurance covers sudden water damage.
Maintenance Tips Post-Repair
Annual Ceiling Inspections
Check bathrooms, kitchens, and upstairs rooms each year for discoloration or moisture rings.
Use Moisture Meters in Humidity-Prone Spaces
Keep humidity below 60% with dehumidifiers or improved venting.
Touch-Up Paint and Compound to Prevent Small Issues from Worsening
Address minor cracks or stains early to prevent complete rework.
Keep Vents and Fan Systems Clean and Operative
Dust and debris reduce efficiency. Maintain HVAC and exhaust systems every 6–12 months.
Conclusion: Protecting Your Ceiling & Home in San Diego
In San Diego, water damage is a stealthy threat—especially to ceiling drywall. A tiny leak today can become a sagging, moldy, hazardous ceiling.
By identifying damage early, using proper repair techniques, and focusing on moisture-resistant finish, you protect your home’s value, safety, and appearance.
Need help restoring your ceiling? Contact Drywaller for expert evaluation and high-quality repairs—done right the first time.


