Living in a historic San Diego home is like owning a piece of art—gorgeous, unique, and just a little high-maintenance. Whether you live in a craftsman in North Park, a Spanish revival in Mission Hills, or a vintage Victorian in Golden Hill, your house has character—and likely, its fair share of wall issues. That’s where drywall repair comes in.
Older homes bring charm but also some serious drywall quirks. From ancient cracks to the ghost of plaster and lath repair jobs gone wrong, San Diego’s historic homes have seen it all. But don’t worry—with the right know-how, a little love, and maybe the help of a pro, you can preserve those beautiful walls and keep them standing strong.
Brought to you by SGP Drywall, San Diego’s trusted specialists in restoring vintage walls with modern skill and old-school respect.
The Most Common Drywall Problems in San Diego’s Historic Homes
Historic homes may have a lot of charm, but their walls have seen decades—sometimes over a century—of wear and tear. From fragile materials to shifting foundations, these homes come with unique drywall challenges that modern construction just doesn’t face. Below, we break down the most frequent drywall repair issues homeowners encounter in older San Diego properties—and how to fix them the right way.
1. Plaster and Lath Repair: The Granddaddy of Drywall Challenges
If your home predates the 1950s, chances are it was built using plaster and lath instead of drywall. These walls are gorgeous when intact but a nightmare when cracked or crumbling.
The Issue:
Over time, plaster detaches from the wooden lath beneath it, creating bulges, cracks, and even collapses.
How to Fix It:
You have two main options:
- Repair the plaster by reattaching it using adhesive and washers, then resurfacing.
- Or, replace the section with drywall, blending it with existing textures for a clean match.
This kind of historic home wall restoration requires finesse. Texture blending and thickness matching are essential if you want your repair to be invisible.
2. Drywall Cracks in Old Homes: From Hairlines to Hefty Gaps
Nothing says “I’ve been around” like a good old-fashioned wall crack. But there’s a difference between cosmetic and concerning.
The Issue:
Drywall cracks in old homes occur due to expansion, contraction, and foundational shifts.
How to Fix It:
- Hairline cracks: Clean them out and use a flexible, paintable caulk before repainting.
- Wider cracks: Use mesh tape and joint compound, then sand and repaint.
If cracks keep coming back in the same spot, it could point to structural problems. Time to call in an expert before patching becomes a monthly routine.
3. Wall Texture Matching: Keeping the Charm Alive
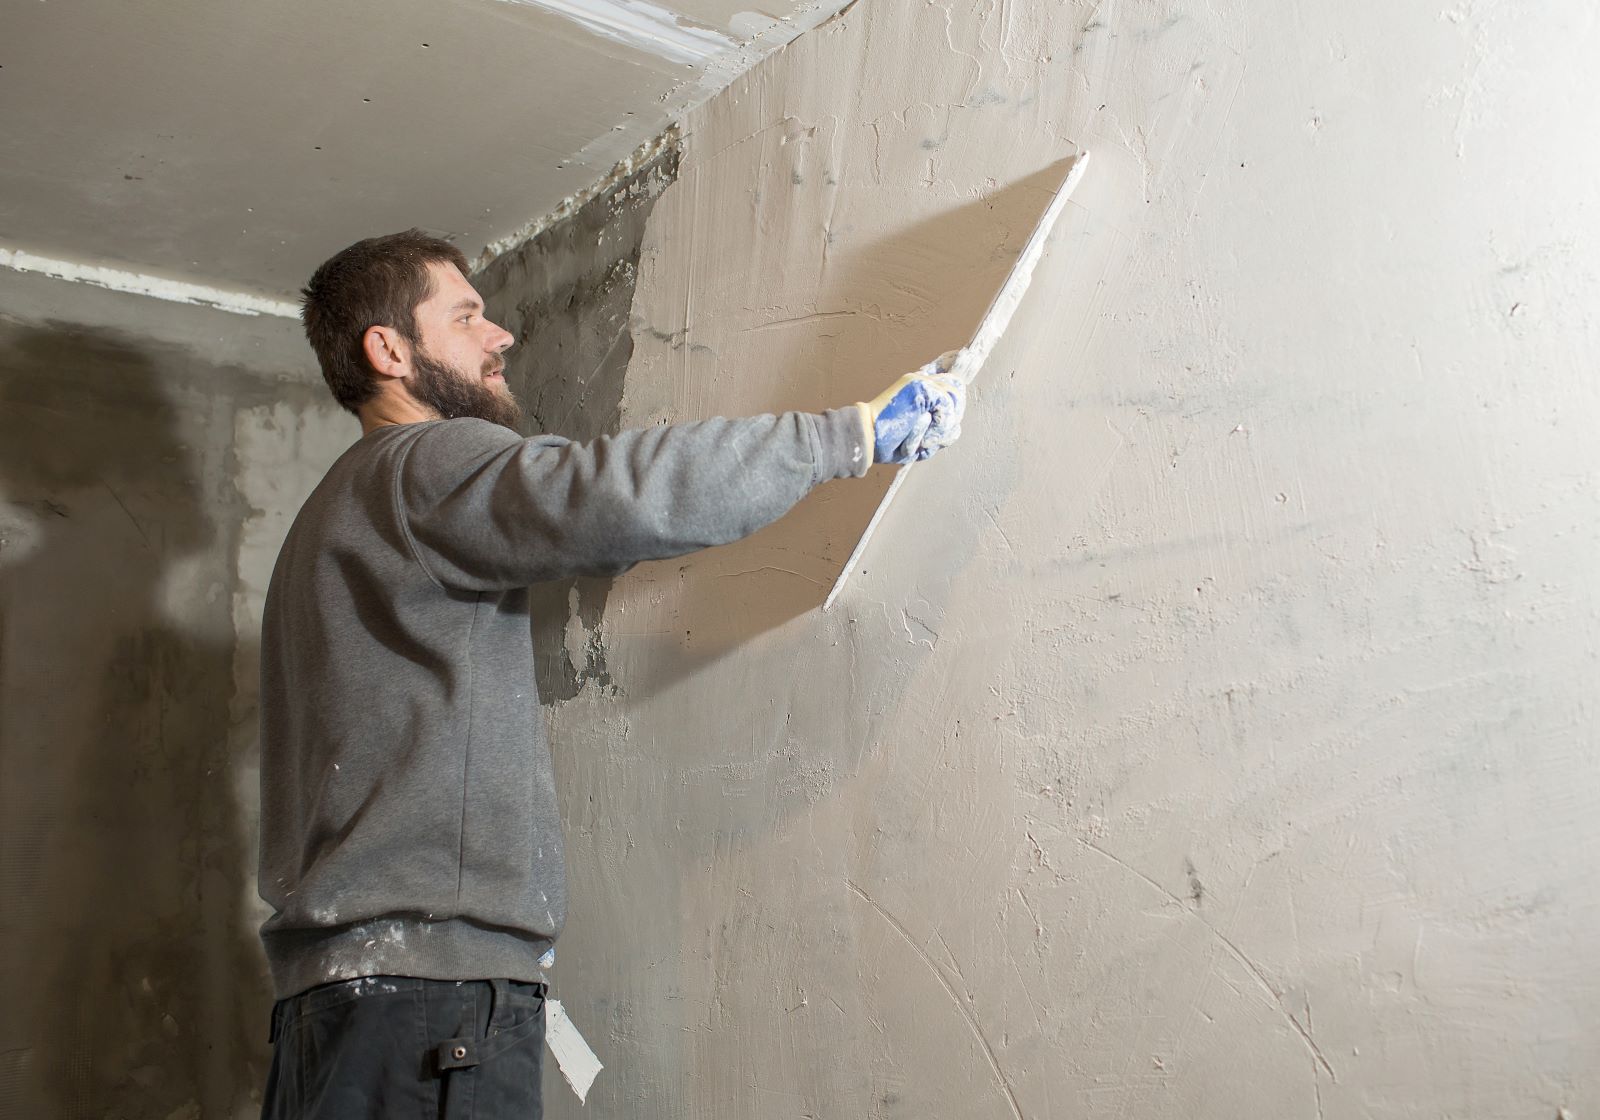
Here’s the thing: you can’t just slap on some mud and hope no one notices. Historic homes often feature unique wall textures, like skip trowel, swirl, or sand finishes.
The Issue:
Nothing ruins a period-perfect interior like a drywall patch that stands out like a sore thumb.
How to Fix It:
After your repair, take the time to match the texture:
- Use the same tools (brushes, trowels, sponges) as the original application.
- Test your pattern on cardboard or spare drywall first.
- Or, better yet, bring in someone with experience in period-appropriate drywall fixes.
This attention to detail is what separates a good repair from a “why-did-they-do-that” patch job.
4. Moisture Damage and Mold in Vintage Homes
From beachy breezes to aging pipes, water damage is no stranger to San Diego homes—especially ones with 70+ years under their belt.
The Issue:
Moisture causes bubbling, staining, and mold behind your drywall. Left unchecked, it can weaken your walls and compromise indoor air quality.
How to Fix It:
- Identify and stop the moisture source (roof leak, bad plumbing, poor ventilation).
- Cut out the affected drywall and replace it with moisture-resistant panels.
- Use mold-resistant joint compound and paint to prevent future issues.
This step is essential for restoring historic interiors safely and responsibly.
Preserving Historic Walls the Right Way

Here’s how to handle the most common minor issues:
1. Patching Small Holes (Under 1 Inch)
These are typically caused by nails, screws, or minor impacts.
Step-by-step drywall repair:
- Clean the hole and surrounding area.
- Apply lightweight spackle using a putty knife.
- Let it dry (usually 30–60 minutes).
- Sand smooth.
- Prime and paint.
Easy-peasy. And yes, you can totally handle this with your morning coffee in one hand.
2. Fixing Nail Pops
Nail pops are bumps or holes where drywall nails have been pushed out.
Fix it like this:
- Drive the drywall screw back in below the surface.
- Add a second screw nearby for reinforcement.
- Cover both with joint compound.
- Sand, prime, and paint.
Tip: Use screws instead of nails for longer-lasting results—especially important with San Diego’s seismic activity.
3. Repairing Medium Holes (1–6 Inches)
This is where it gets trickier. You’ll want a mesh patch or drywall repair kit.
How to do it:
- Place the adhesive mesh patch over the hole.
- Spread joint compound over the patch, feathering the edges.
- Let dry, and apply a second coat if needed.
- Sand down and match the wall’s texture.
Texturing: The DIY Downfall
Here’s the part most DIYers dread: matching the existing wall texture. San Diego homes often feature knockdown, orange peel, or even skip-trowel finishes.
Trying to match texture by hand without experience often leads to:
- Obvious patches
- Bumpy walls
- Total do-overs
While you can buy aerosol texture in a can, it’s finicky. If your wall has a custom or heavy texture, you might want to consider calling a professional drywall contractor to avoid visual chaos.
Drywall Repair Mistakes to Avoid
Even a confident DIYer can fall into these common traps:
❌ Skipping Surface Prep
Dust, grease, or debris will prevent compound from sticking properly.
❌ Over-Sanding
It’s easy to sand too aggressively and create a dent or reveal the mesh underneath.
❌ Using the Wrong Compound
Don’t use fast-setting mud unless you’re experienced—it dries quickly and is unforgiving.
❌ Not Blending Paint Correctly
Color matching is an art. If your repair stands out under sunlight, it defeats the purpose.
Avoid these mistakes, and you’ll save yourself from a very public Pinterest failure.
When to Skip DIY Drywall Repair and Call a Pro
Let’s be honest—there are times when DIY is not the answer. Here are the moments to wave the white flag:
1. Cracks That Keep Coming Back
Persistent cracks could mean structural shifts. Don’t keep re-mudding the same spot—have it inspected.
2. Water Damage or Stains
Discoloration, softness, or mold? You may be dealing with moisture or plumbing issues that require more than a surface fix.
3. Large Holes or Full Panel Replacements
If the damage exceeds 6 inches or goes through the wall, it’s a job for the pros. Improper patching can cause sagging or bulging later.
4. Corner Bead Damage
Corners involve metal or plastic reinforcement. If it’s bent or cracked, replacement is tricky and time-consuming.
Need Backup? SGP Drywall Is Ready to Help

Still not sure if you should DIY or delegate? At SGP Drywall, we’ve seen every type of patch, crack, and gouge you can imagine. From offering drywall repair tips to full-blown restorations, we’ve got your back.
We help San Diego homeowners get the job done—whether that means coaching you through your own repair or showing up with the tools and making it flawless.
Contact SGP Drywall today for expert advice, fast service, and walls that look like nothing ever happened.
FAQ: Drywall Repair for San Diego DIYers
What’s the best way to practice drywall patching before trying it on a real wall?
Great question! Grab a scrap piece of drywall or a piece of cardboard and cut a small hole in it. Use your drywall repair kit to practice applying mesh, spreading compound, and sanding. You can even try texturing and painting on the test surface. It’s a great confidence booster—and less risky than experimenting on your living room wall.
Do you need to prime a drywall before painting?
Yes! Primer seals the patch, helps with paint adhesion, and prevents flashing (where the patched area shows through the paint). Use a drywall-specific primer or a quality stain-blocking primer to ensure the final coat blends seamlessly with the rest of the wall.
Up Next:
Not every project is DIY material—especially when it involves building out new spaces. Be sure to check out our next article:
“Drywall Repair Mistakes to Avoid in San Diego ADUs and Garage Conversions“
We’ll walk you through the most common missteps during conversions—and how to keep your new space clean, code-compliant, and crack-free.

